Rotsumamu Shrine location and walkthrough in Zelda: Tears of the Kingdom
How to complete the Rotsumamu Shrine in Zelda: Tears of the Kingdom, including its location and the full A Balanced Plan puzzle solution.
This article references relevant content from the polygon.com website. Original article link: [https://www.polygon.com/zelda-tears-of-the-kingdom-guide/23749602/rotsumamu-shrine-a-balanced-plan-location-walkthrough]

Rotsumamu Shrine is a shrine within The Legend of Zelda: Tears of the Kingdom’s Gerudo Highlands region.
Our guide will help you find the Rotsumamu Shrine location, solve its puzzles, and walk you through the “A Balanced Plan” challenge to collect the chest and Light of Blessing.
When you’re done, our shrine locations page or interactive Hyrule map can direct you toward something else to do.
Rotsumamu Shrine location
Rotsumamu Shrine is found within the Gerudo Highlands region. Its exact location is (-3407, -1362, 0335).
You might recognize this location as where you fought Master Kohga of the Yiga Clan in Breath of the Wild. You’ll find this shrine (and chasm to the Depths) directly east of the Gerudo Highlands Skyview Tower.
Rotsumamu Shrine walkthrough
Rotsumamu Shrine lets you have a little fun with seesaws (or teeter-totters — long planks that rotate on a pivot) and counterweights.
1. As you enter Rotsumamu Shrine, run up the ramp ahead of you (it’s technically your first seesaw). It will start to tip as you get to the end, so be ready to jump.
2. At the second ramp, use Ultrahand to grab the nearby metal barrel and attach it to the elevated end of the ramp. That will weigh it down so you can run up.
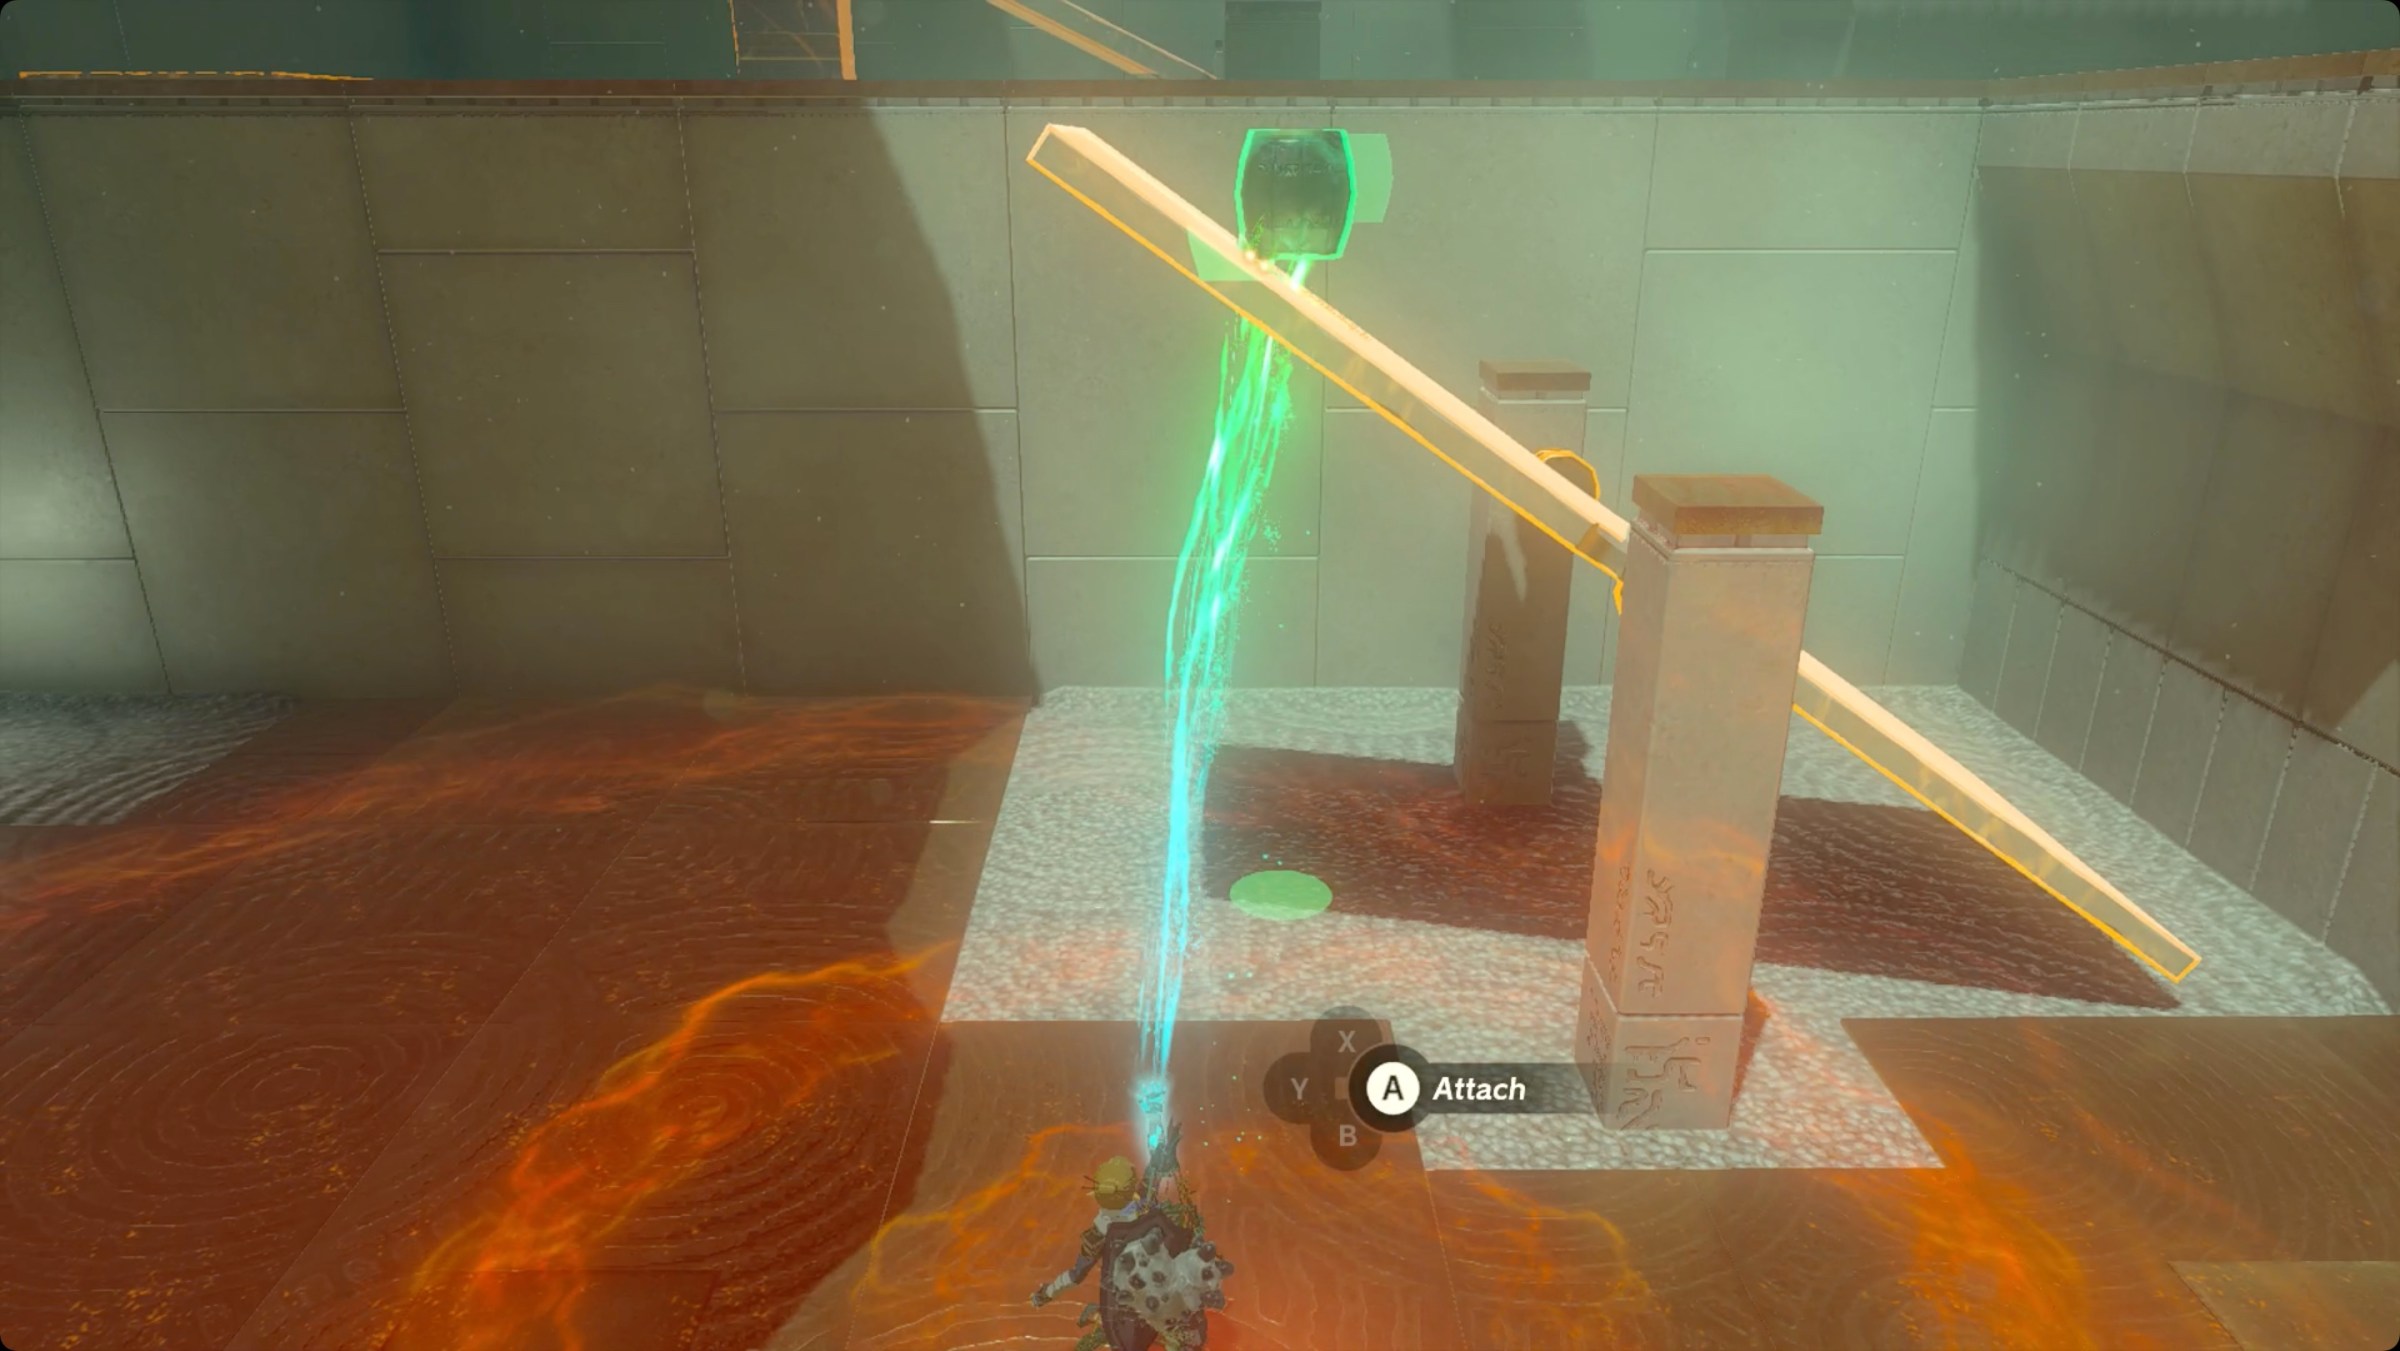
3. When you reach the next seesaw, there will be a large metal cube and a panel on your left. Stick them together like in the image above.
4. Climb onto the seesaw, and attach your assembly perpendicular to the upper end. Your goal is to make a walkway over to the chest in the back corner. Go open it for a large Zonaite.
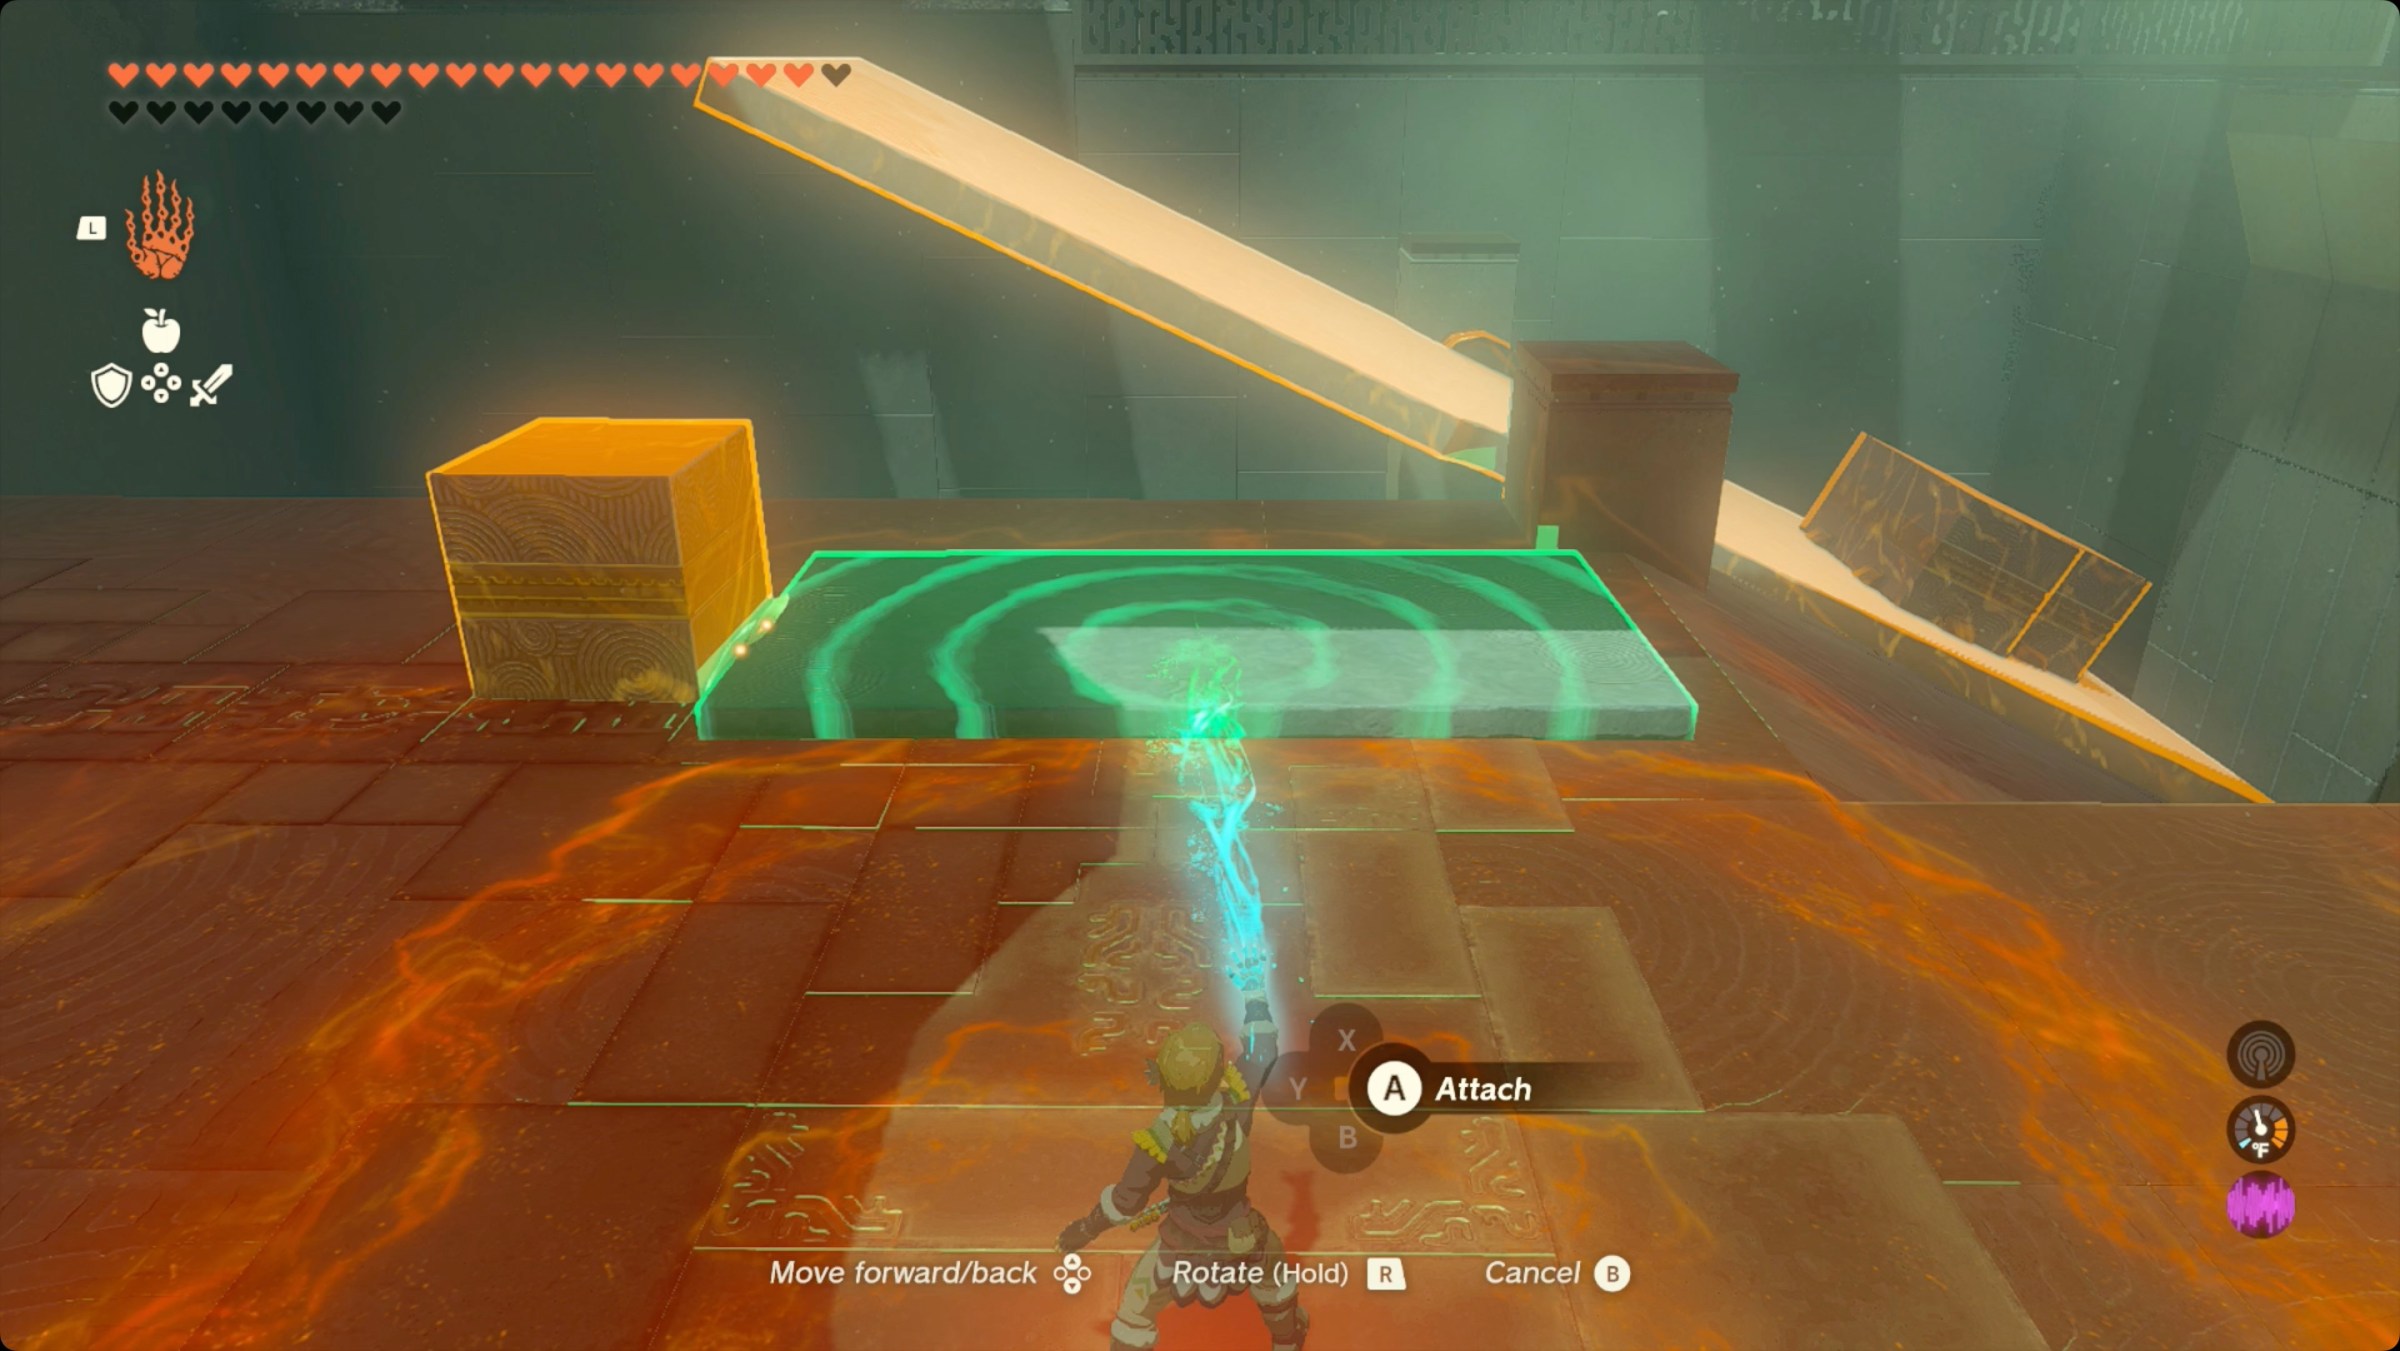
5. Unstick the cube and panel and reassemble them like you did before. Your goal here is to make the non-weighted end of the seesaw longer.
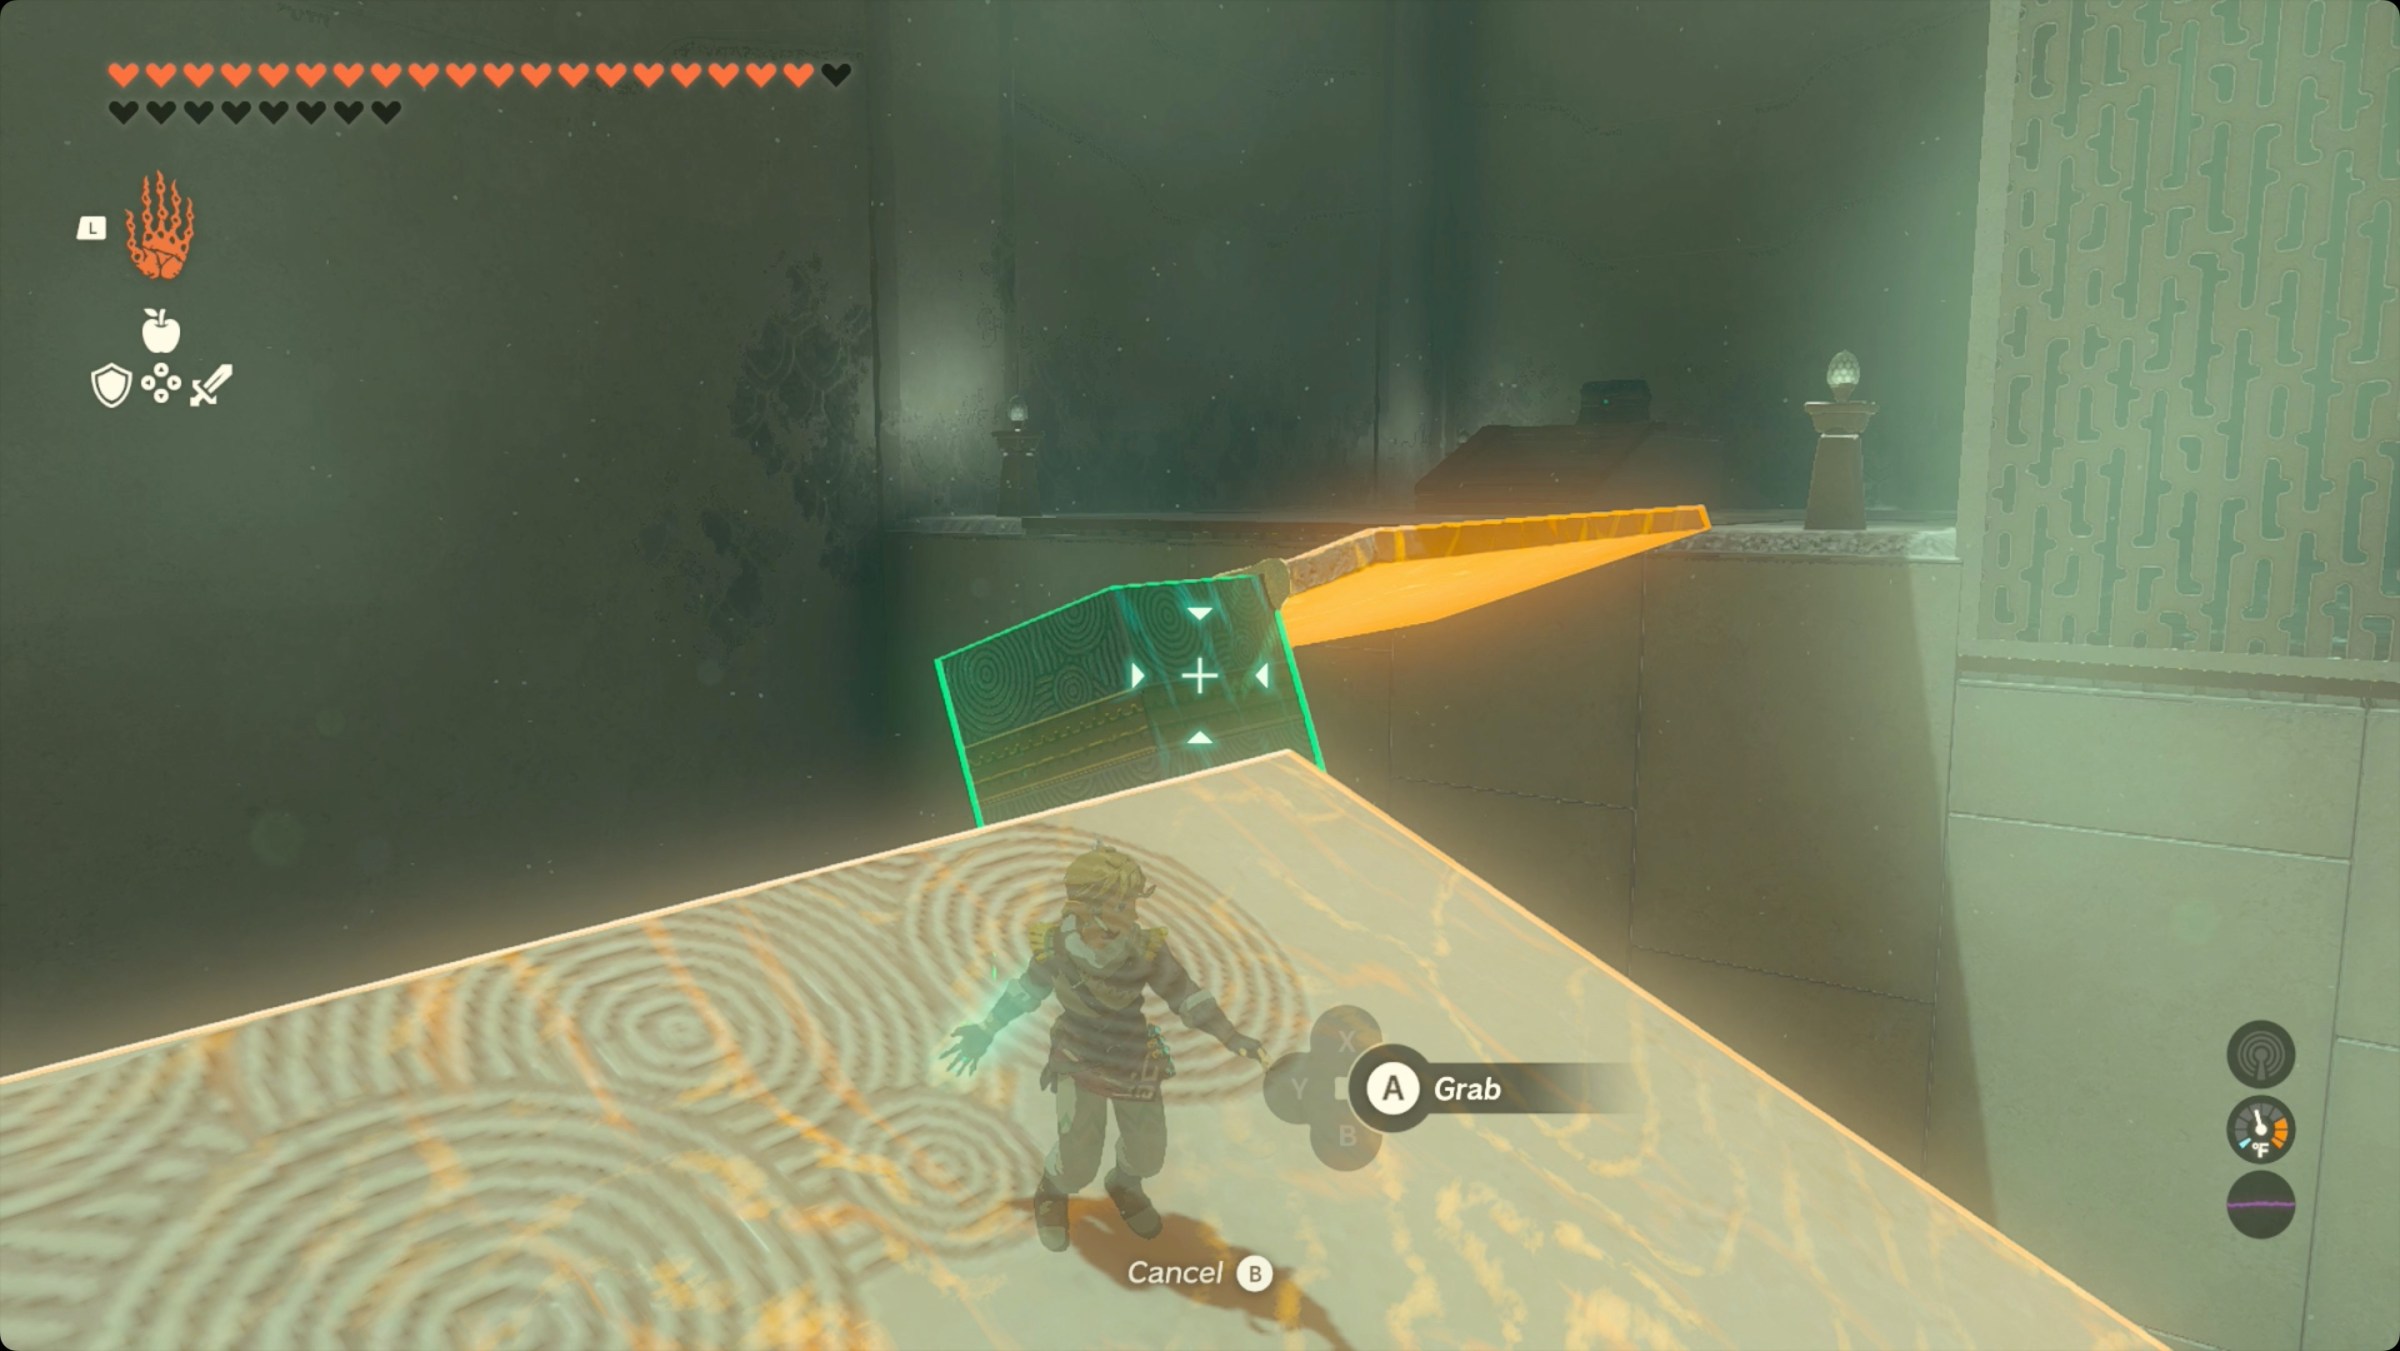
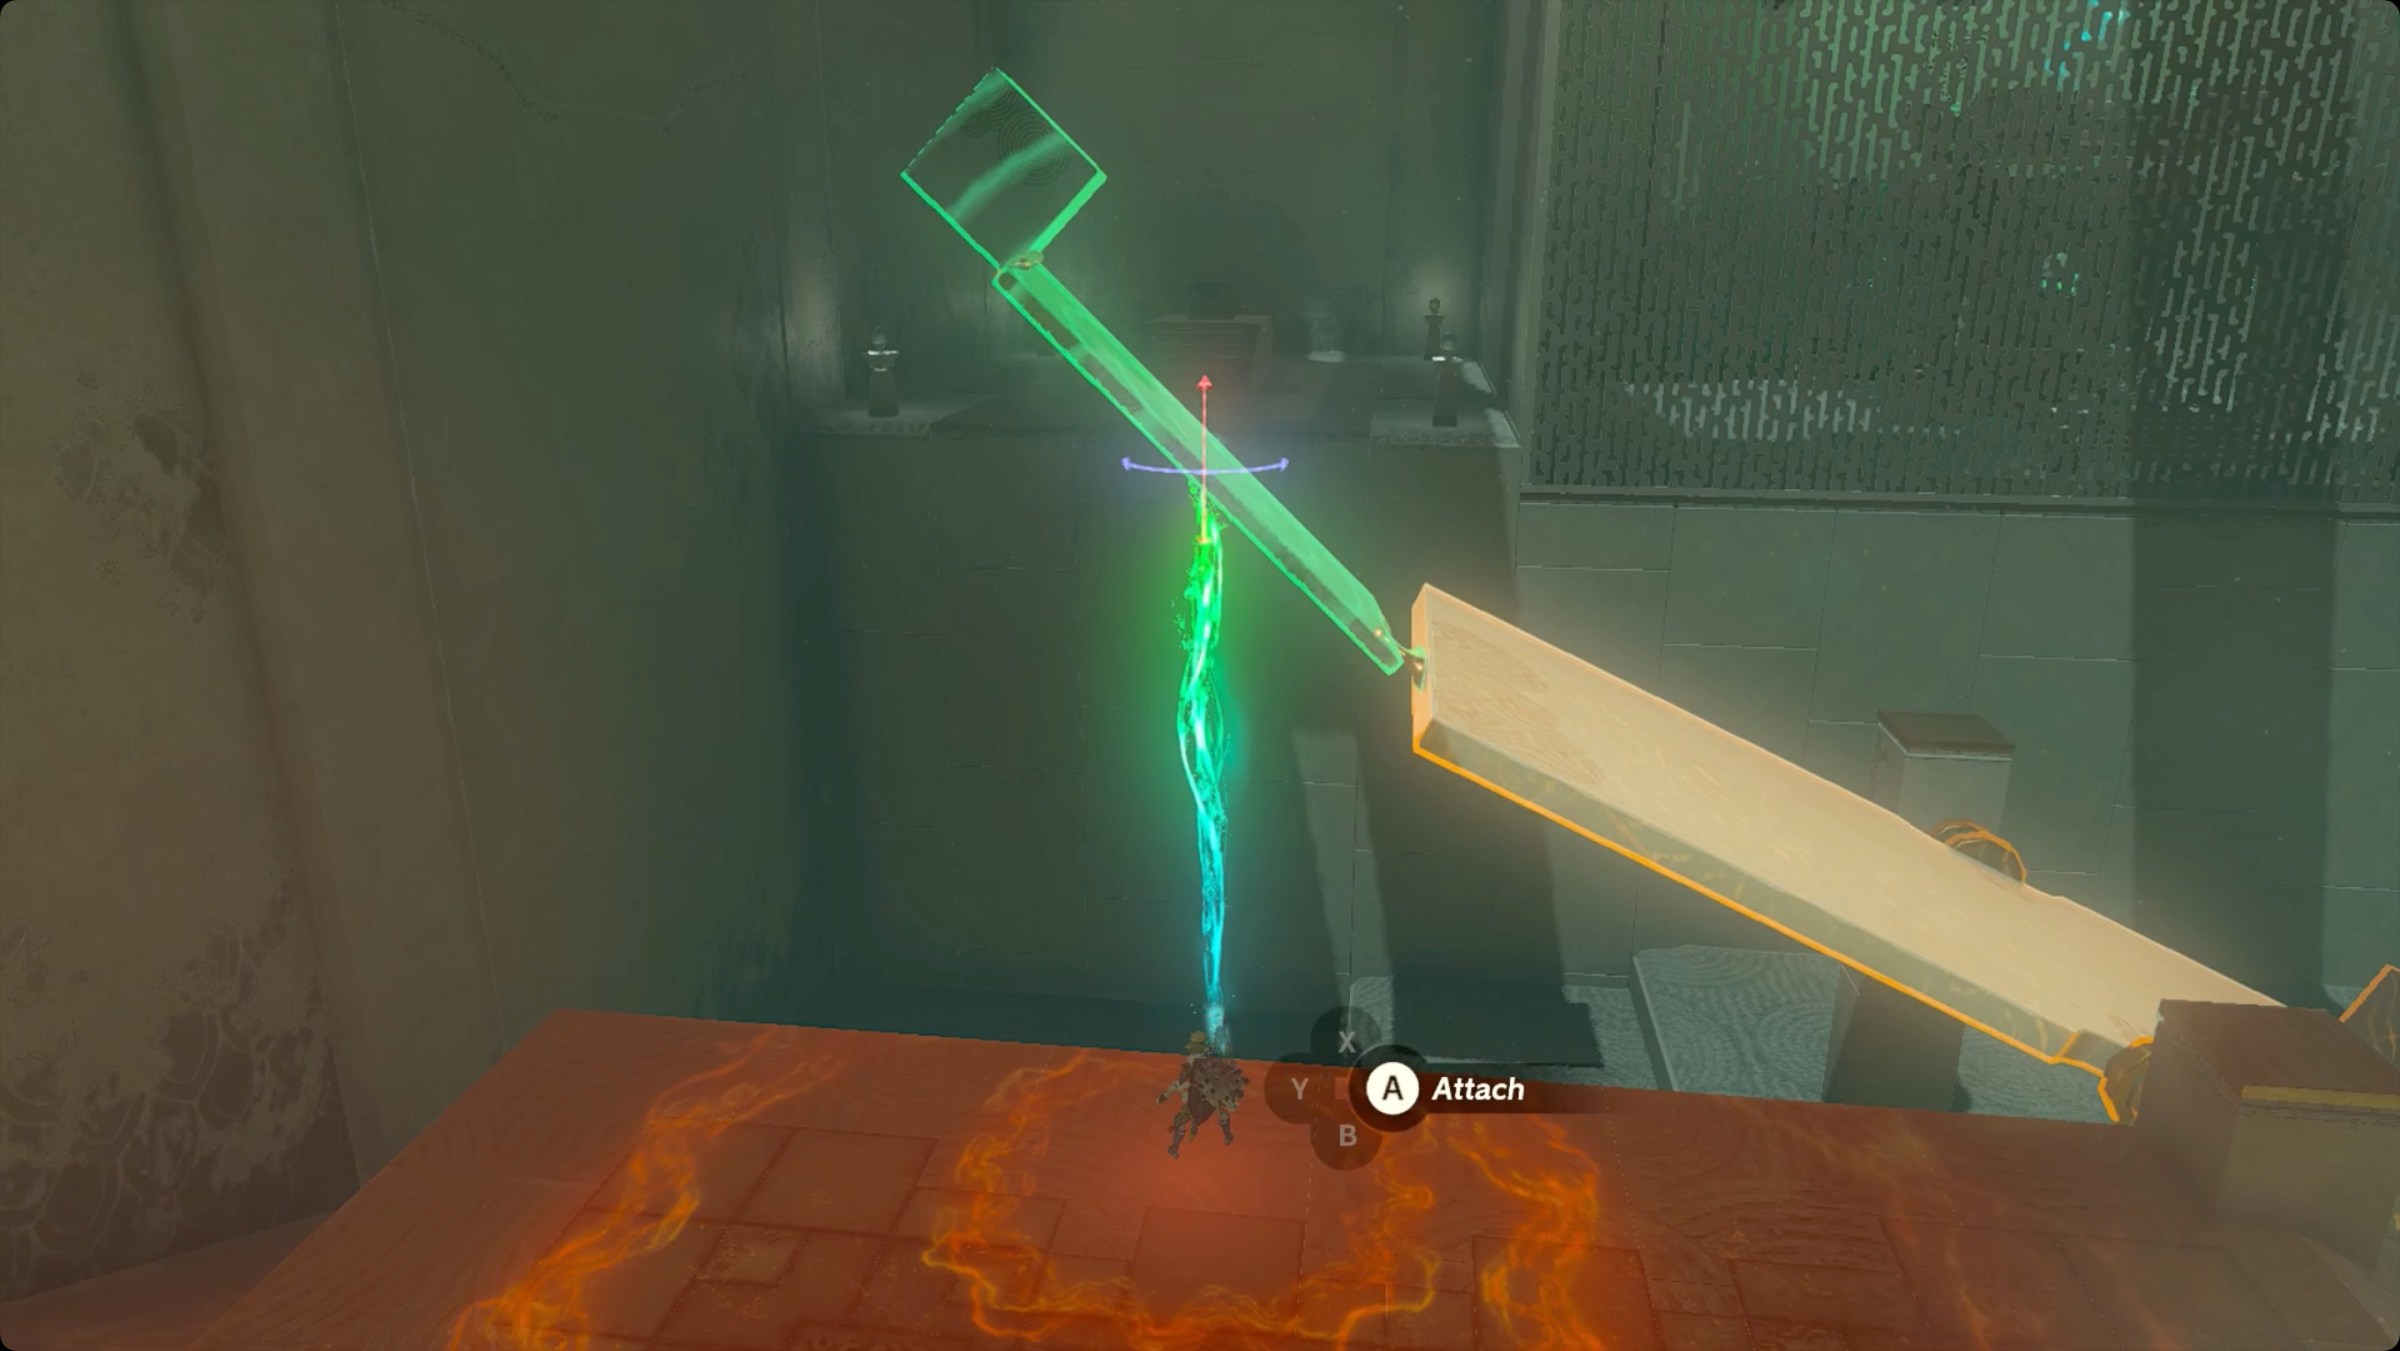
6. Attach the cube-and-panel assembly to the end of the seesaw with the cube to the left.
7. That will give it the [insert smart-sounding physics words like “leverage” or “mechanical advantage” here] to tip the seesaw in the other direction, allowing Link to access the door to the right.
8. Climb up the ramp, head around to the exit, and collect your Light of Blessing.