Sitsum Shrine solution in Zelda: Tears of the Kingdom
How to complete the Sitsum Shrine in Zelda: Tears of the Kingdom, including its location and the full A Controlling Device puzzle solution.
This article references relevant content from the polygon.com website. Original article link: [https://www.polygon.com/zelda-tears-of-the-kingdom-guide/23712420/sitsum-shrine-solution-puzzle-chest]
Sitsum Shrine is perched on The Legend of Zelda: Tears of the Kingdom’s Death Mountain, home to the “A Controlling Device” puzzle.
Our guide will help you find the Sitsum Shrine location and solve its puzzles to get its chest and Light of Blessing. One of the challenges itself is getting up Death Mountain to enter the shrine; we rode a Zonai-powered rail cart up the mountain’s prebuilt rail system — all with an assist from a Goron, who was helpful in bowling over enemies.
When you’re done, our shrine locations page or interactive Hyrule map can direct you toward something else to do.
Sitsum Shrine location
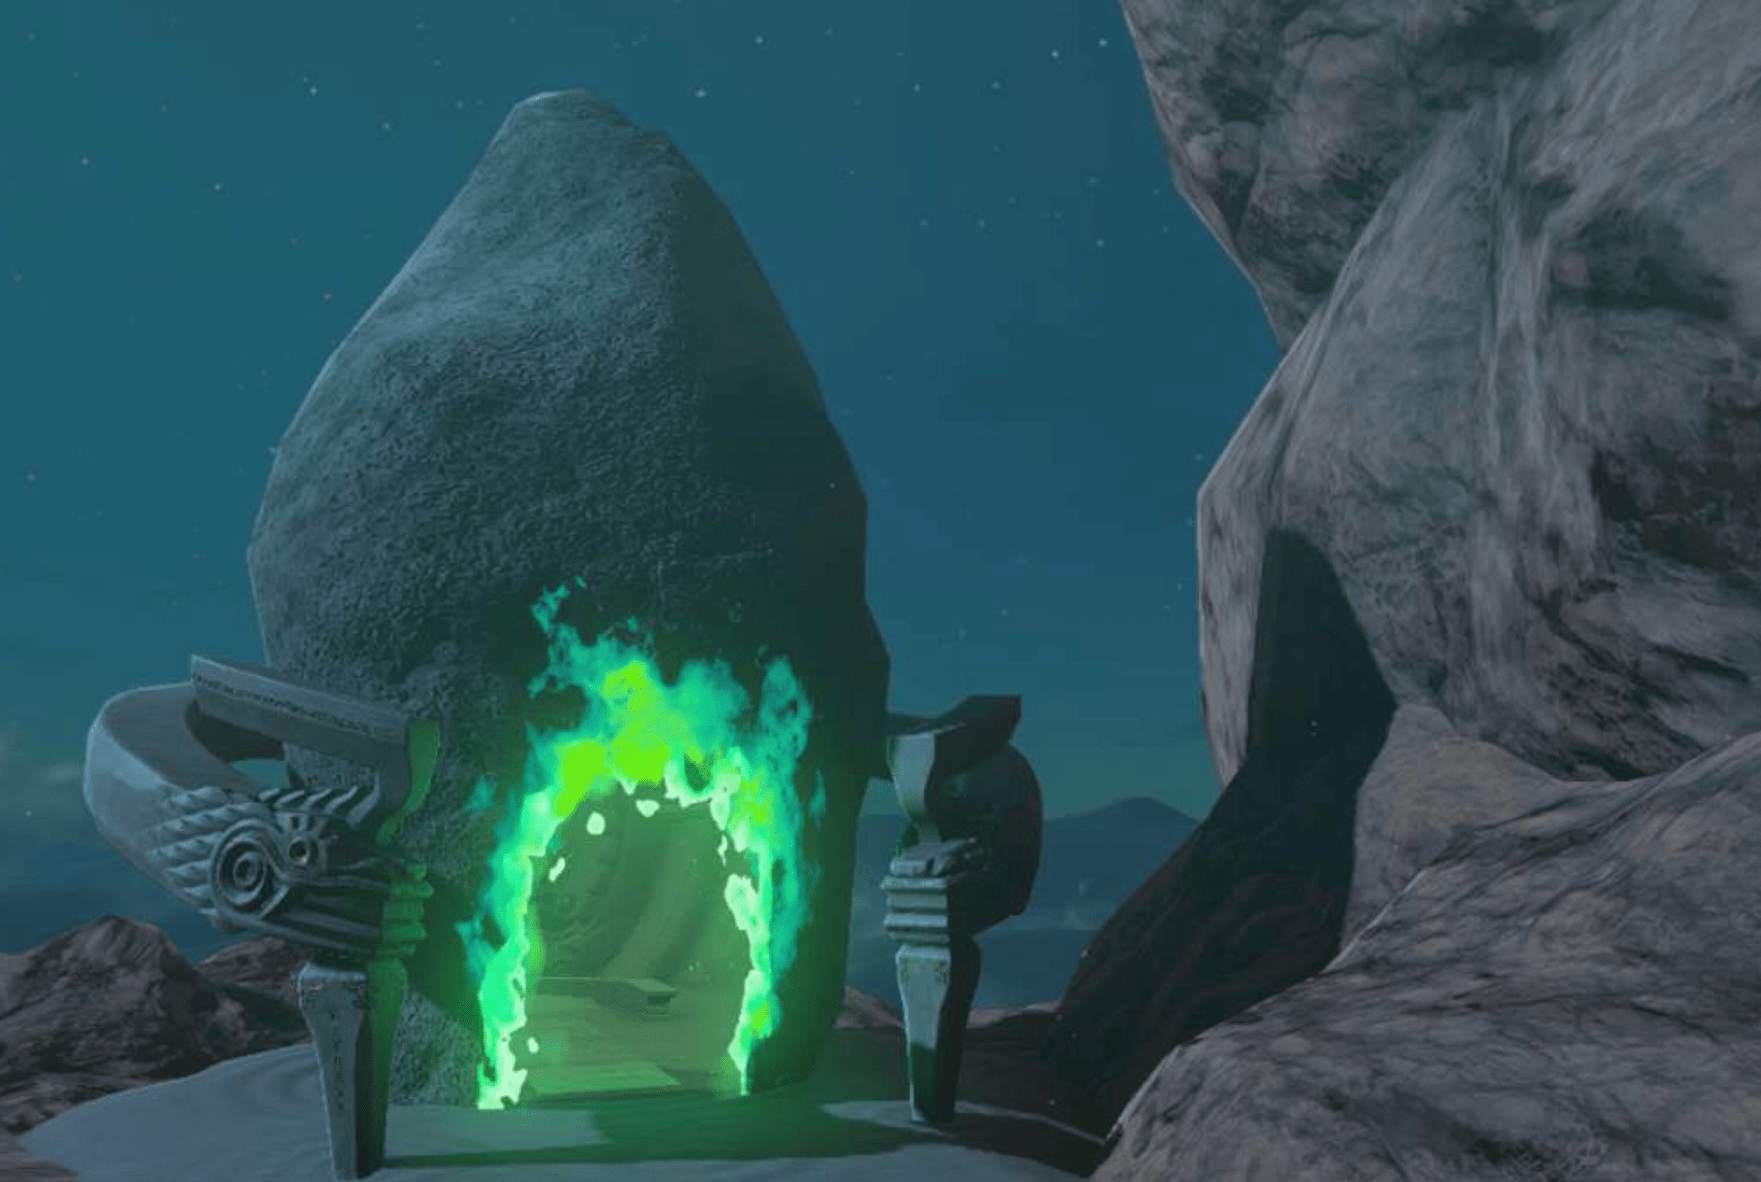
The Sitsum Shrine is found on Death Mountain at the coordinates of (2367, 2598, 0790), and you’ll likely first encounter it as part of the Yunobo of Goron City quest.
We followed the mountain’s built-in rail system, using a Zonai-powered cart to travel up the mountain. (Yunobo came along for the ride, useful in bowling over enemies in the pathway.) Eventually, we reached a platform where the rail system stopped. Just below the railway’s ledge is where you’ll find Sitsum Shrine.
Sitsum Shrine walkthrough
Sitsum Shrine is all about controlling vehicles. It’s a pretty simple demonstration of the steering mechanic that you can plop on any of your vehicles. Handy!
1. Straight from the shrine’s entrance there’s a simple, four-wheeled platform. (In fact, there’s a few — two to the right side.) Hop on the one waiting by the fire river. There’s a steering device that’ll kick off the ride.
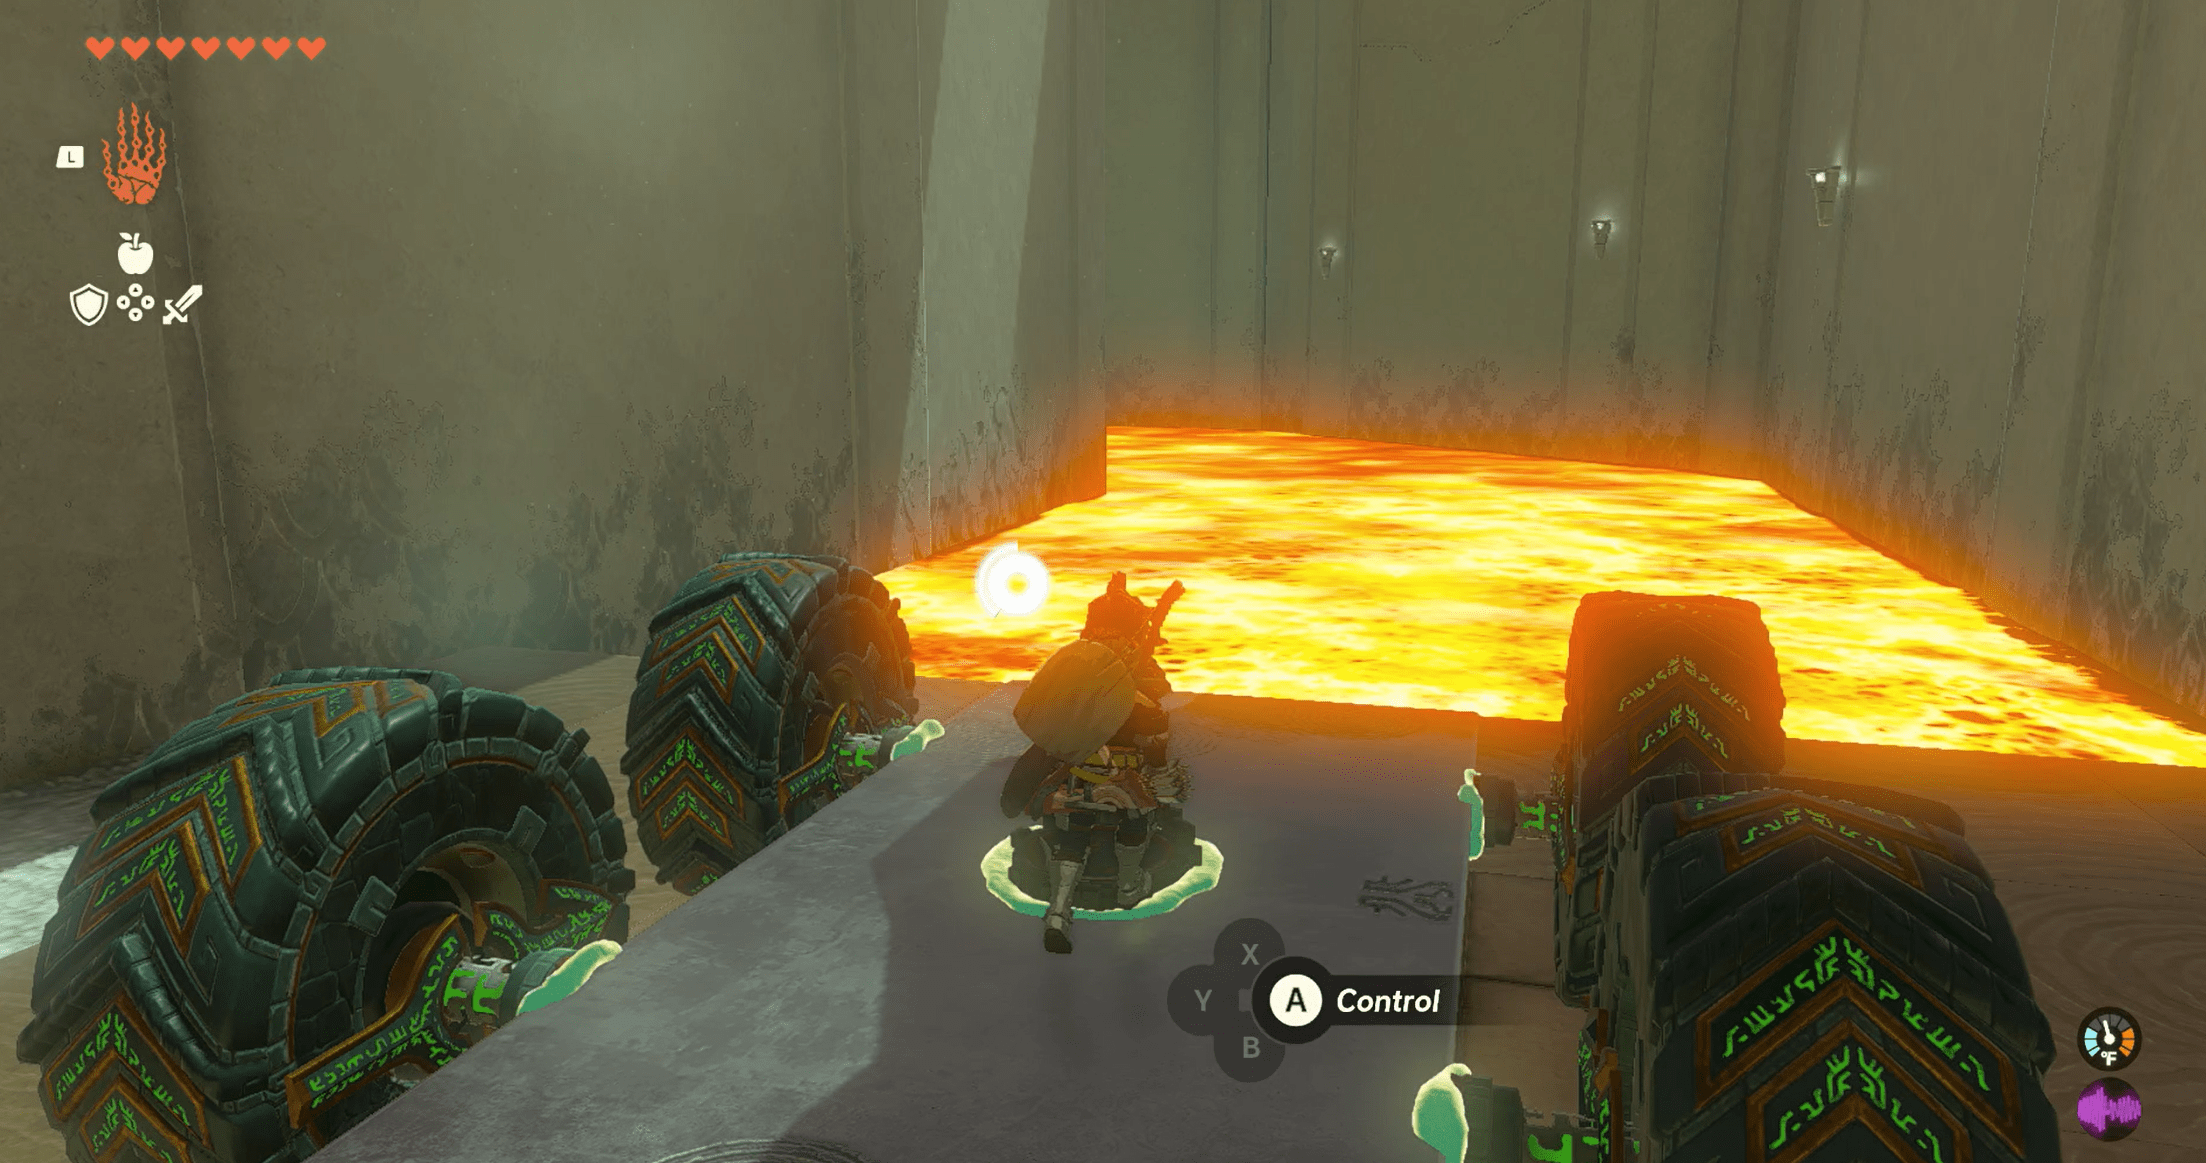
2. Head straight into the river, steering around the curves.
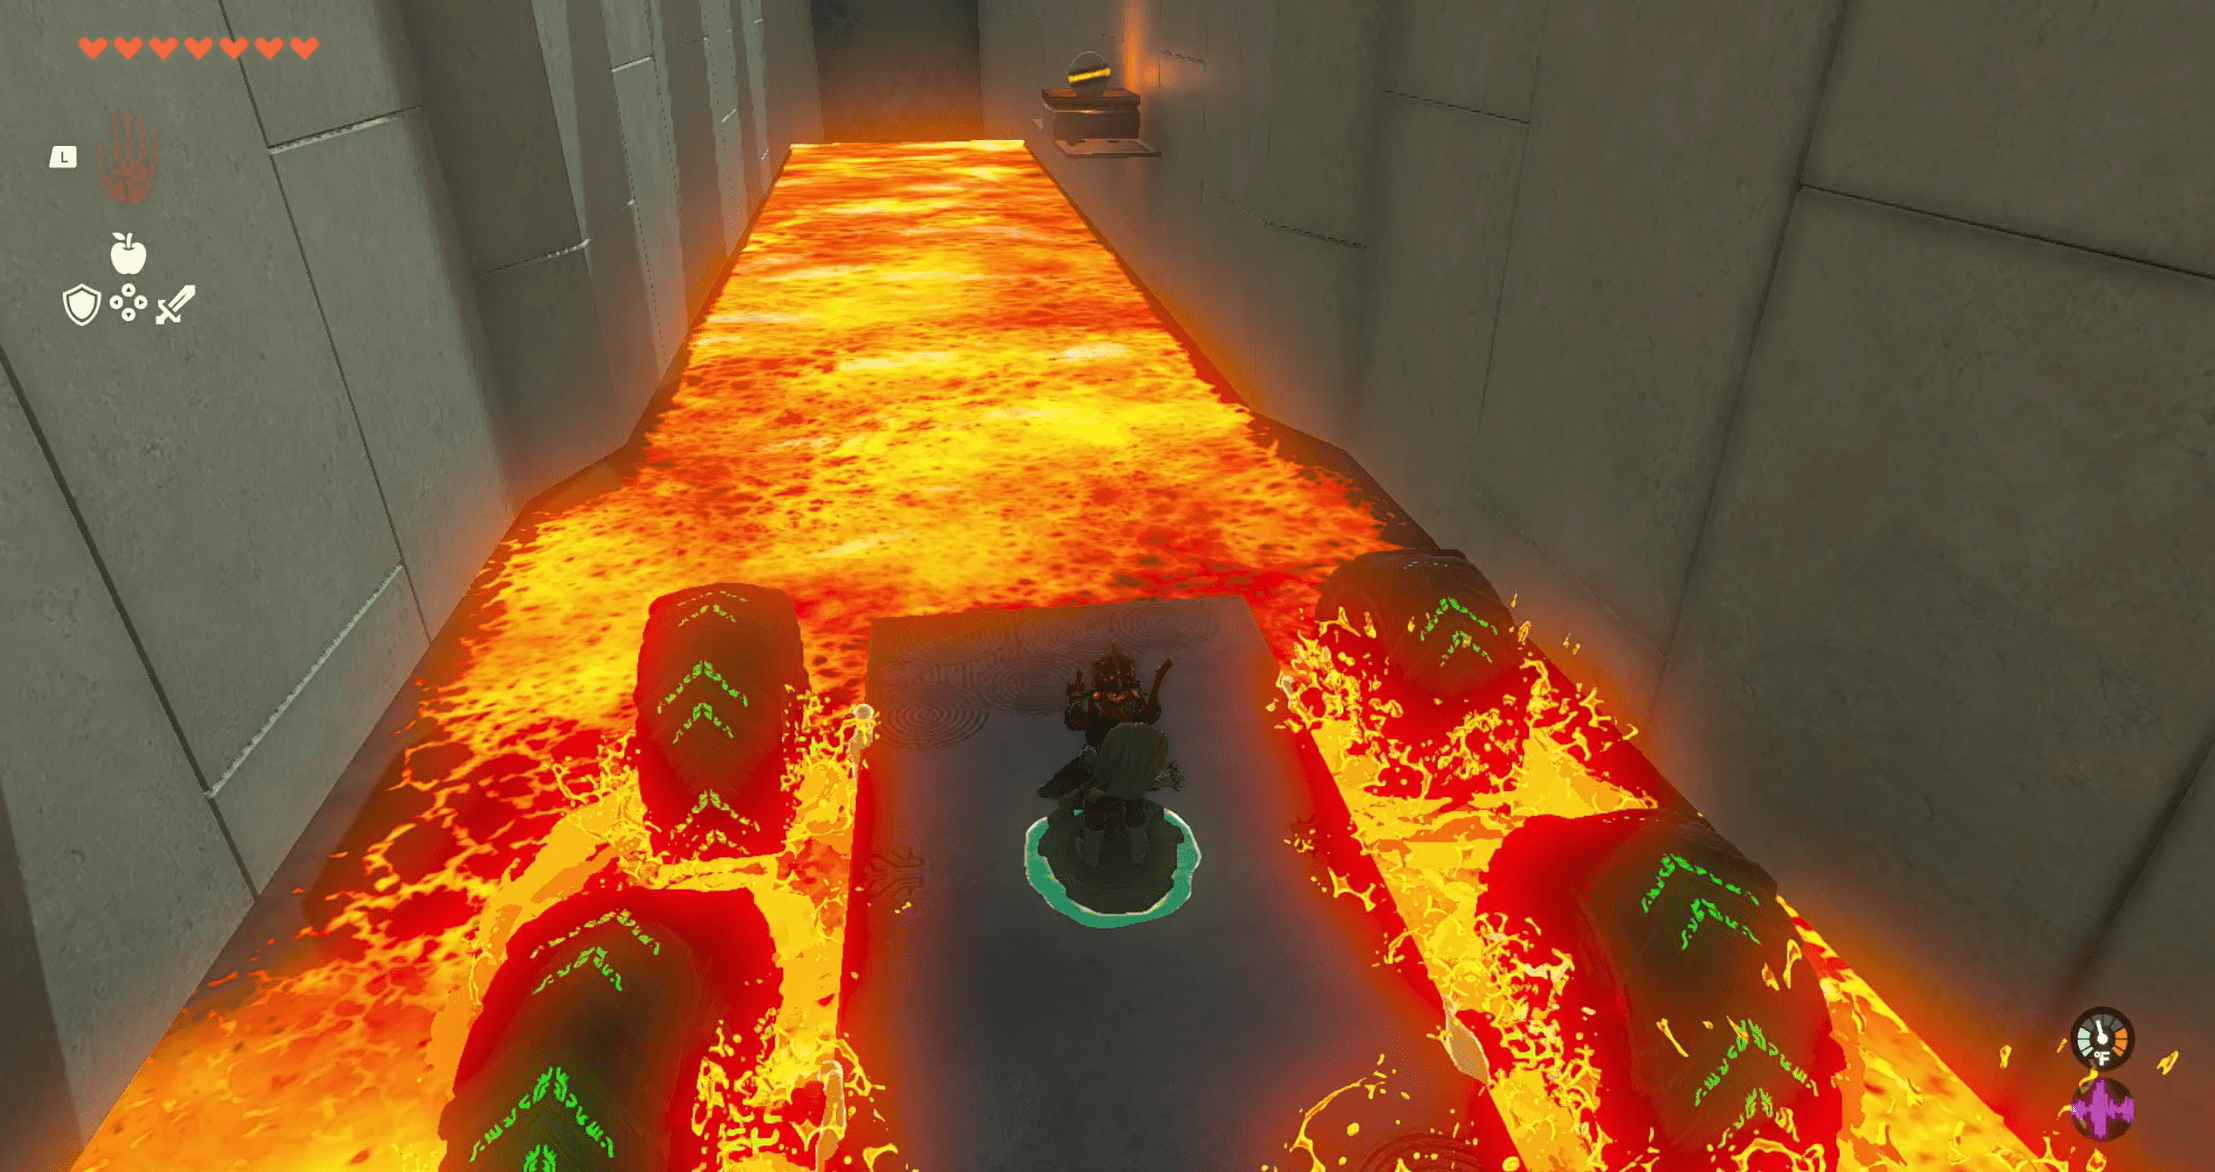
3. The next chamber splits three ways — you can turn left, right, or head straight up the center. Take the first right-hand turn.
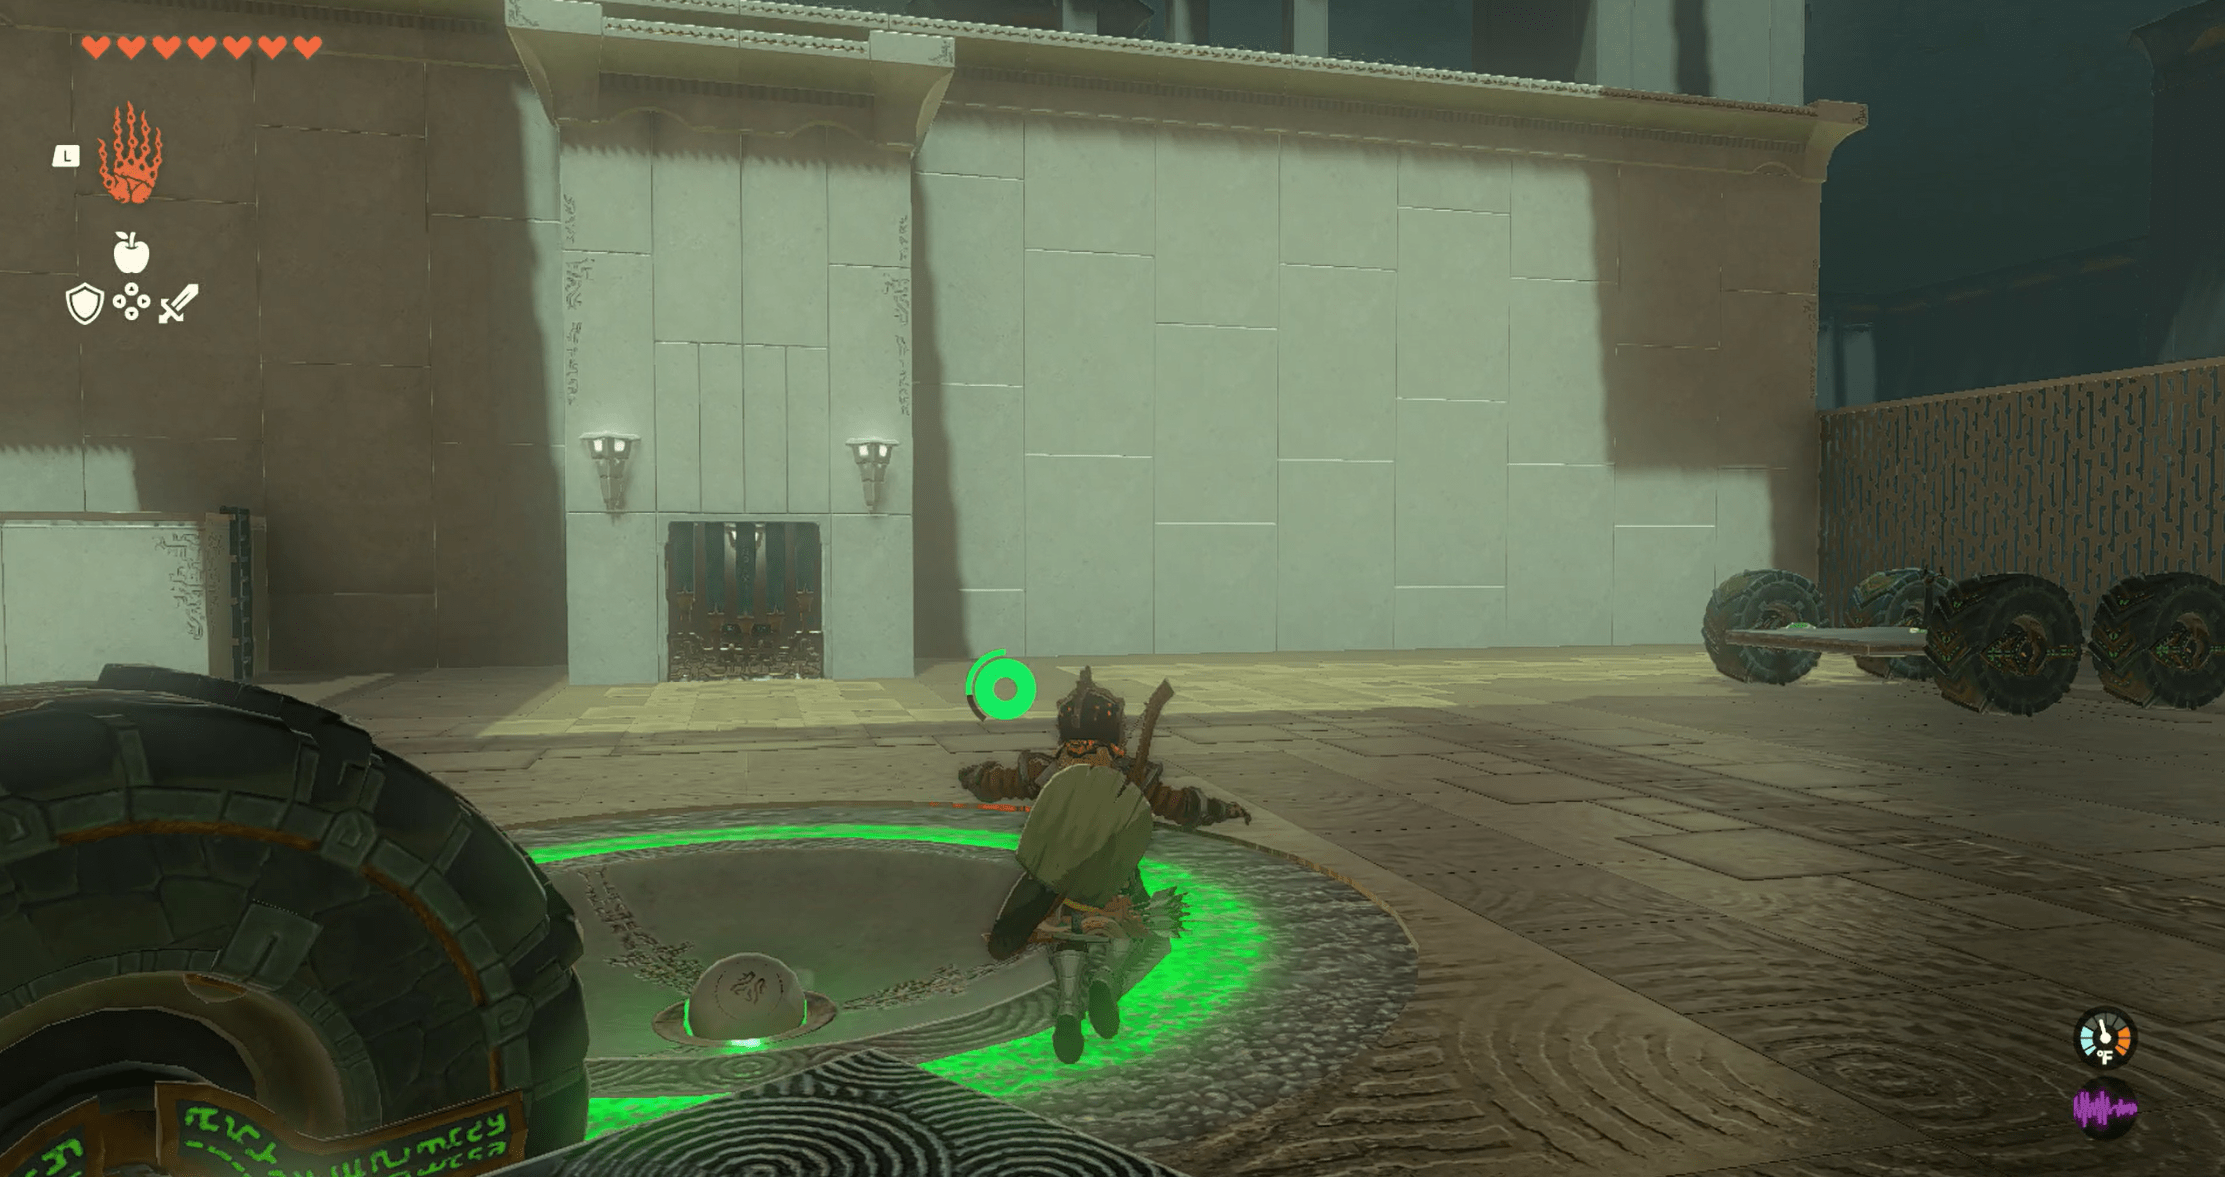
4. There’s a ball on a ledge a ways down the narrow hallway. Use Ultrahand to grab it, then attach it to the vehicle for safekeeping.
5. Use Recall to rewind time to back out of the hallway and into the chamber where you started. Make your way to the center platform.
6. Put the ball in the indent in the floor. The gate for the chest will open. There’s a mighty Construct bow inside.
7. Leave the middle platform and turn right — you are facing the opposite way from where you originally came from, so what was originally a left-hand turn is now the right.
8. Defeat the Construct that’s waiting on the platform.
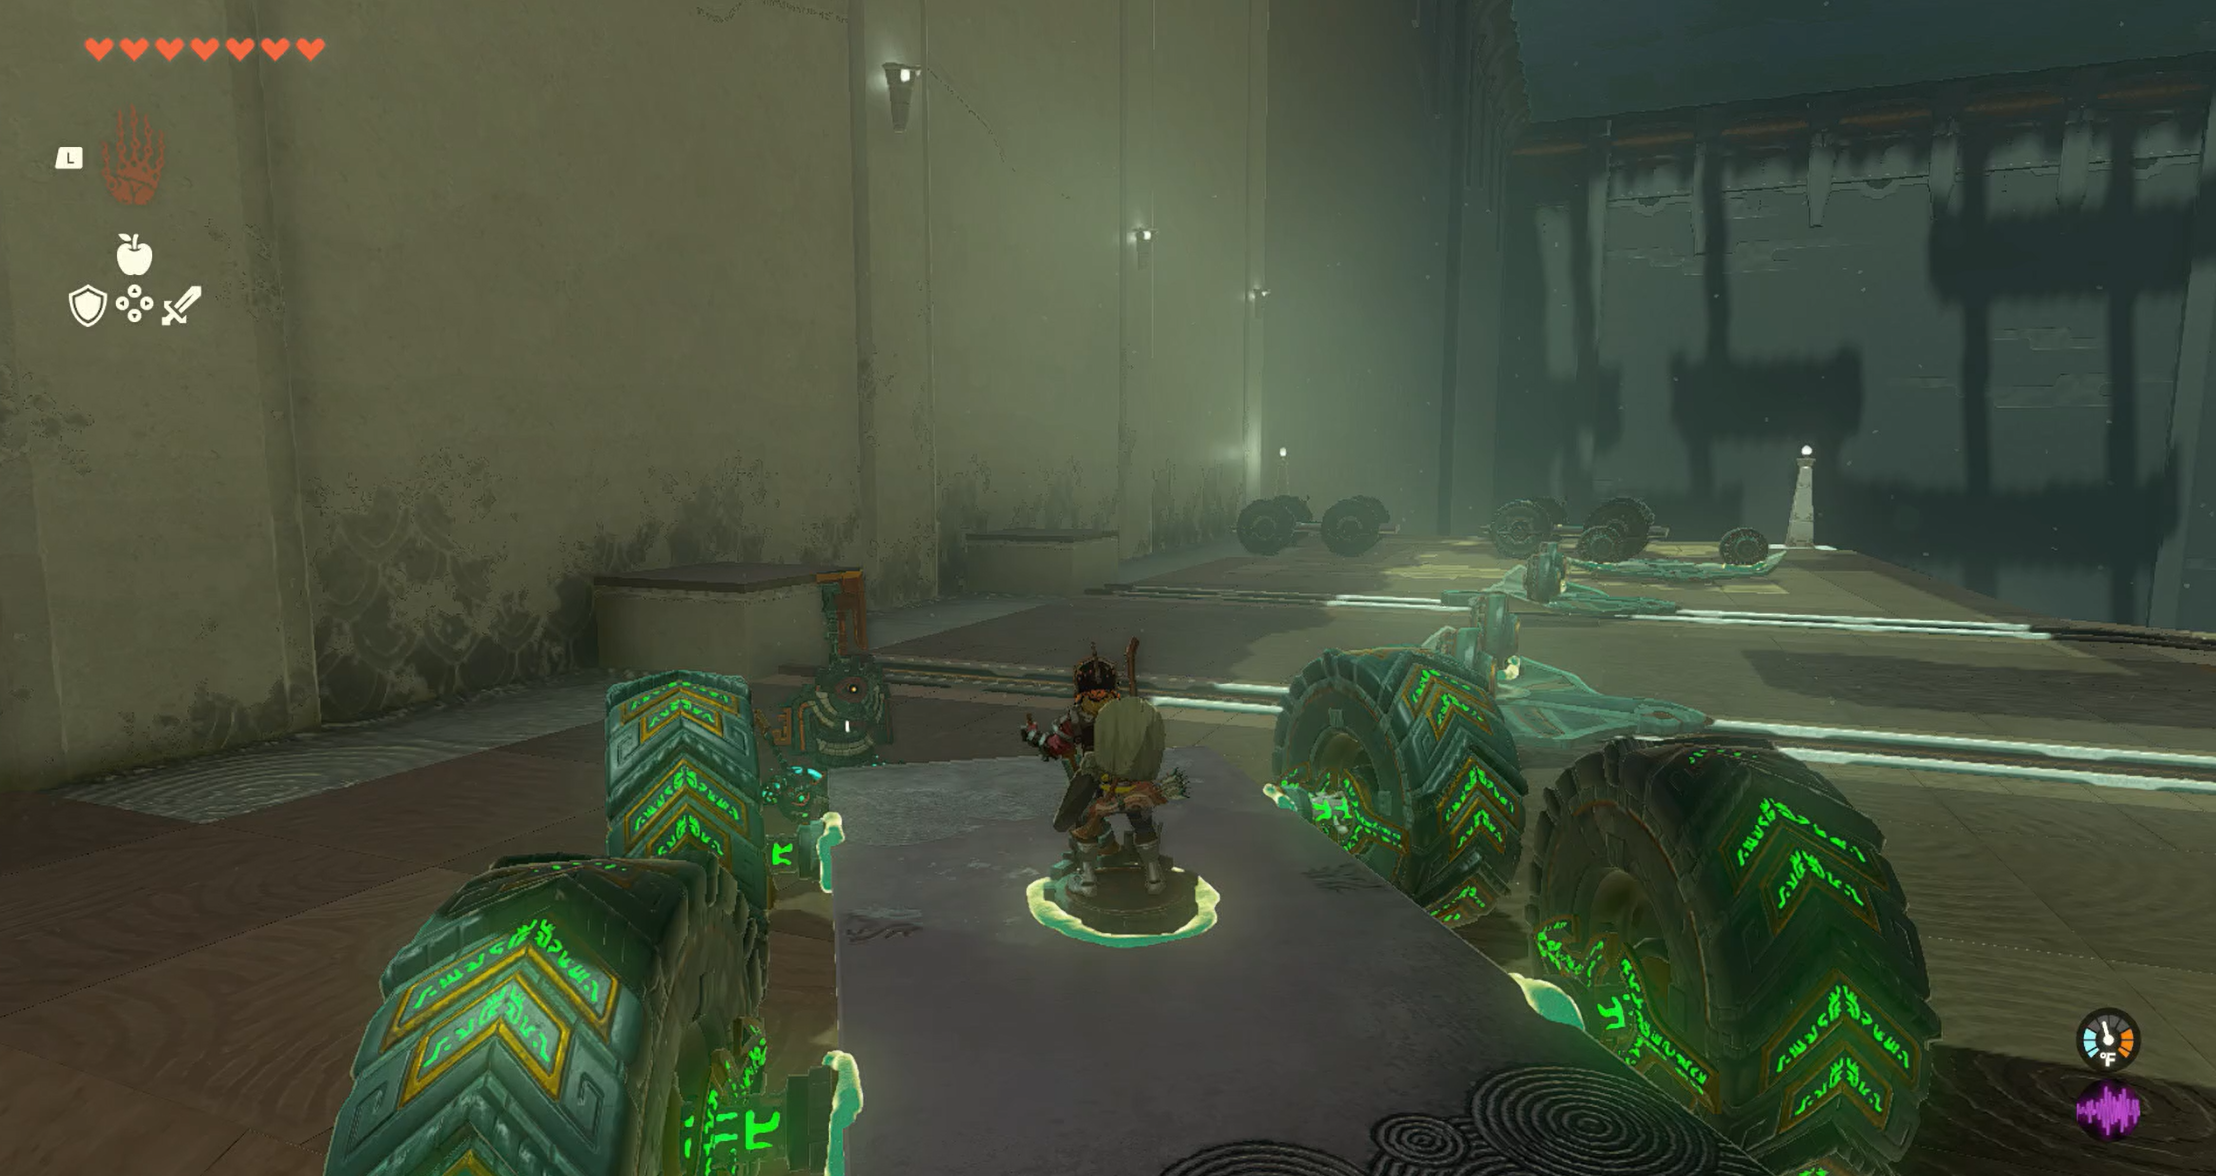
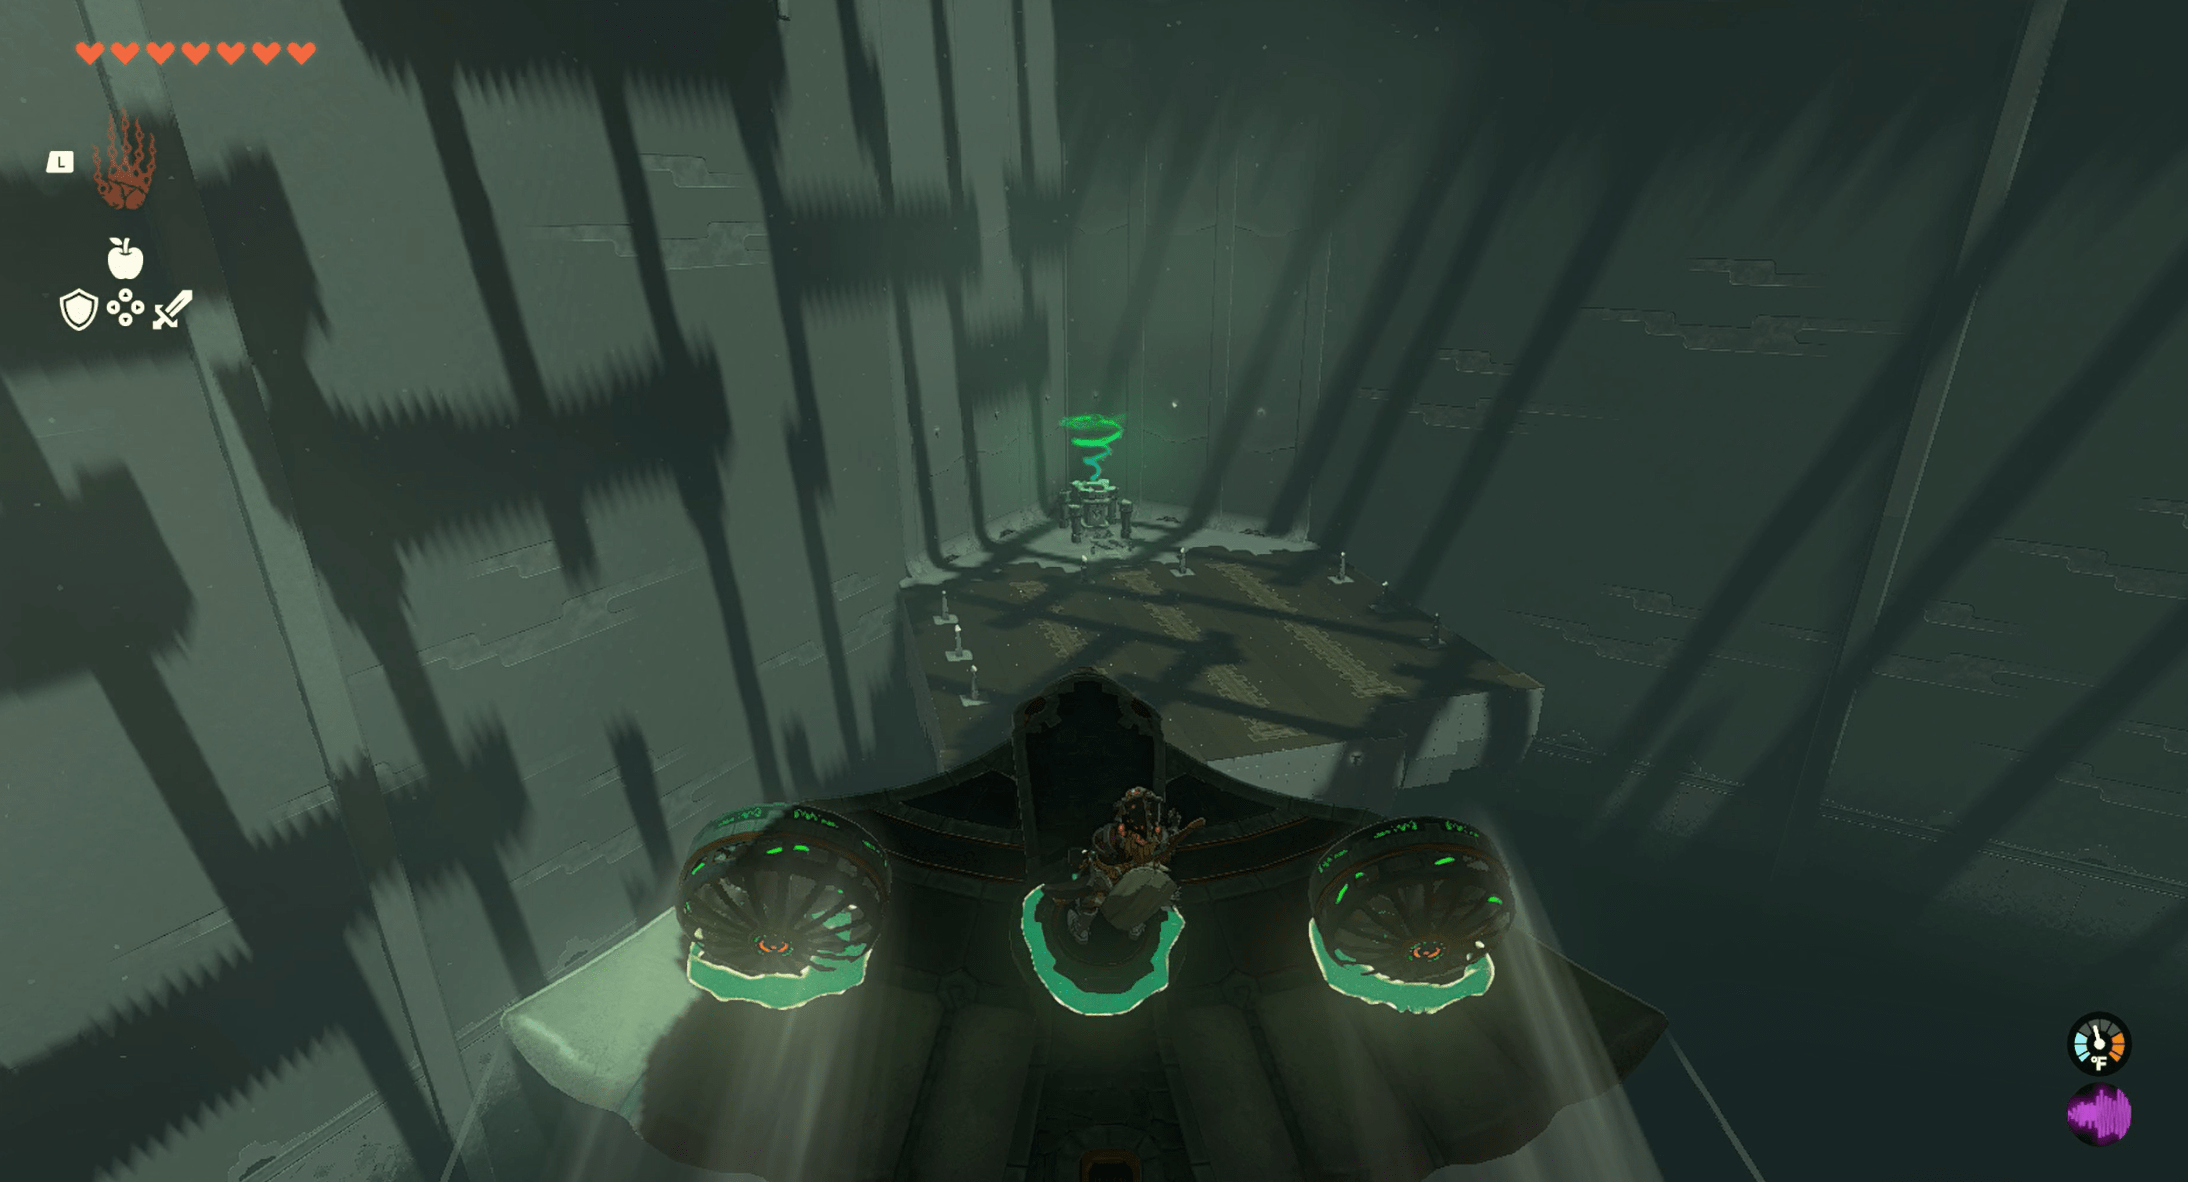
9. There are several flying vehicles and more four-wheelers in this area. Two of the flying vehicles are positioned to lead out into two runways.
10. Pull a steering device off one of the four-wheelers and attach it to the flying vehicle of your choice.

11. Hop on and get soaring.
12. Fly toward the back of the shrine and to the left to reach the shrine’s exit. Jump off the plane or land it gently on the platform — your call! Examine the sigil to complete the shrine and get the Light of Blessing.